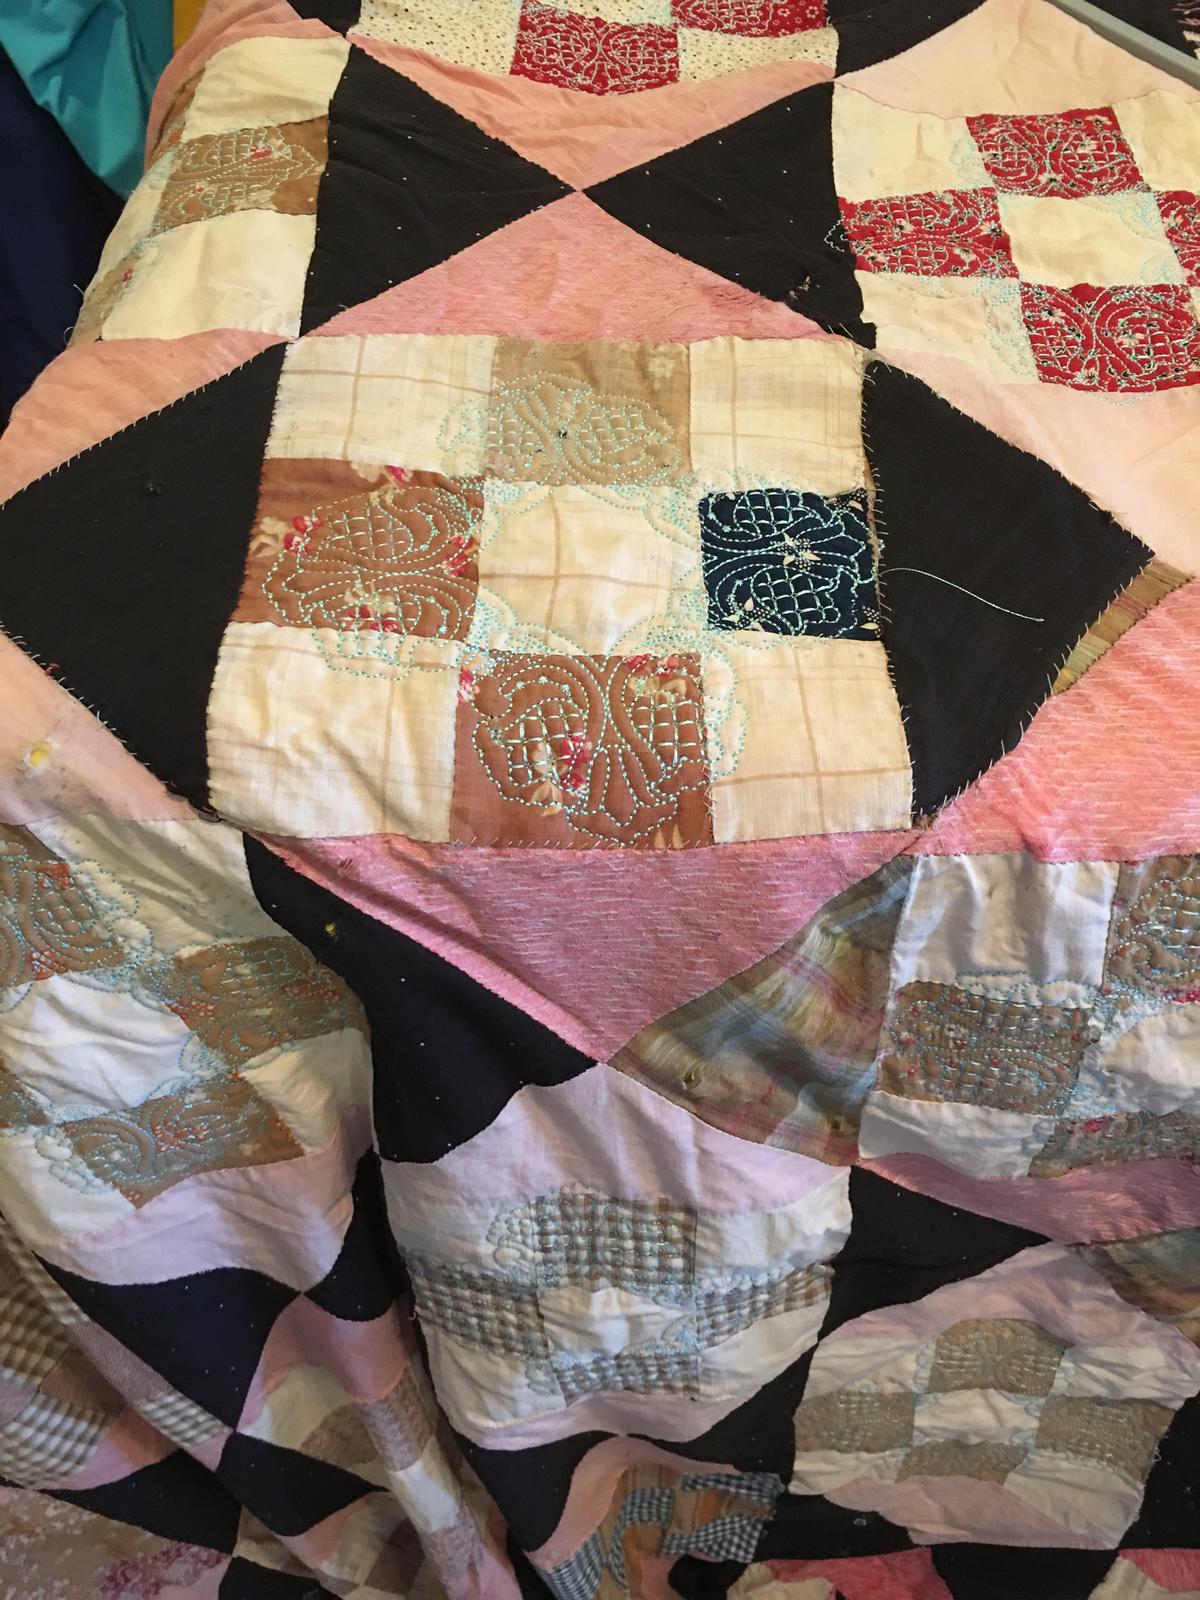
Once in a while I receive something vintage from a friend or family member to repair. One of the first decisions, and most important is how much I can stick to the time period. The quilt top I was given was torn in many spots, the fabric was brittle and yellowed with age, and the top didn’t have any sentimental value to anyone. The person who gave me the quilt top, passed it on to be repaired, but didn’t need it back… So… My thought was that one row could be removed shortening the quilt top and providing vintage fabric that matched to repair missing pieces. The quilt back and batting and even quilting didn’t have to stay period in this case, but I did want to brighten the quilt.
Stains
The top had several stains and yellowing. Quilts need to be stored like old paper, in something that won’t yellow them. I usually suggest storing an old quilt in a pillow case. Many things can yellow the quilt, but things like boxes and paper are some of the worse offenders. Quilts also get faded by the sun. I used the restoration fabric restorer to soak and wash the quilt top. I keep it on hand for old vintage items that need cleaned up.
Repairing the Fabric
After soaking the fabric I pieced together any pieces of the quilt that were close together. Basically I whip stitched the pieces together, or if the seam was still available, I put the pieces together and re-sewed them. The fabric was very brittle so care had to be taken not to put any pressure or pull in any way on the fabric. I think also took pieces from the row I removed and filled in any missing pieces that were possible to just swap pieces. The final step to repair was to look for larger holes and places pieces of removed row behind the hole. I then whip stitched around the edge and filled in the hole from behind. Some holes were small and some were much larger, this method though worked for any size. I tried to match colors and the pattern to keep the top consistent.
Putting the Top Together
After finishing the repair of the top, everything was still very brittle. I decided in this case flannel was a good choice to replace batting in the quilt. For backing I used an off white solid piece of woven. The backing will help hold the top together and was also used to wrap around the edges and bind the quilt. I didn’t want to mark the top much due to the brittle nature of the quilt, so I went around the edges and clamped on the edges and tried to mark it as very little as possible with pins to hold the top together.
Quilting
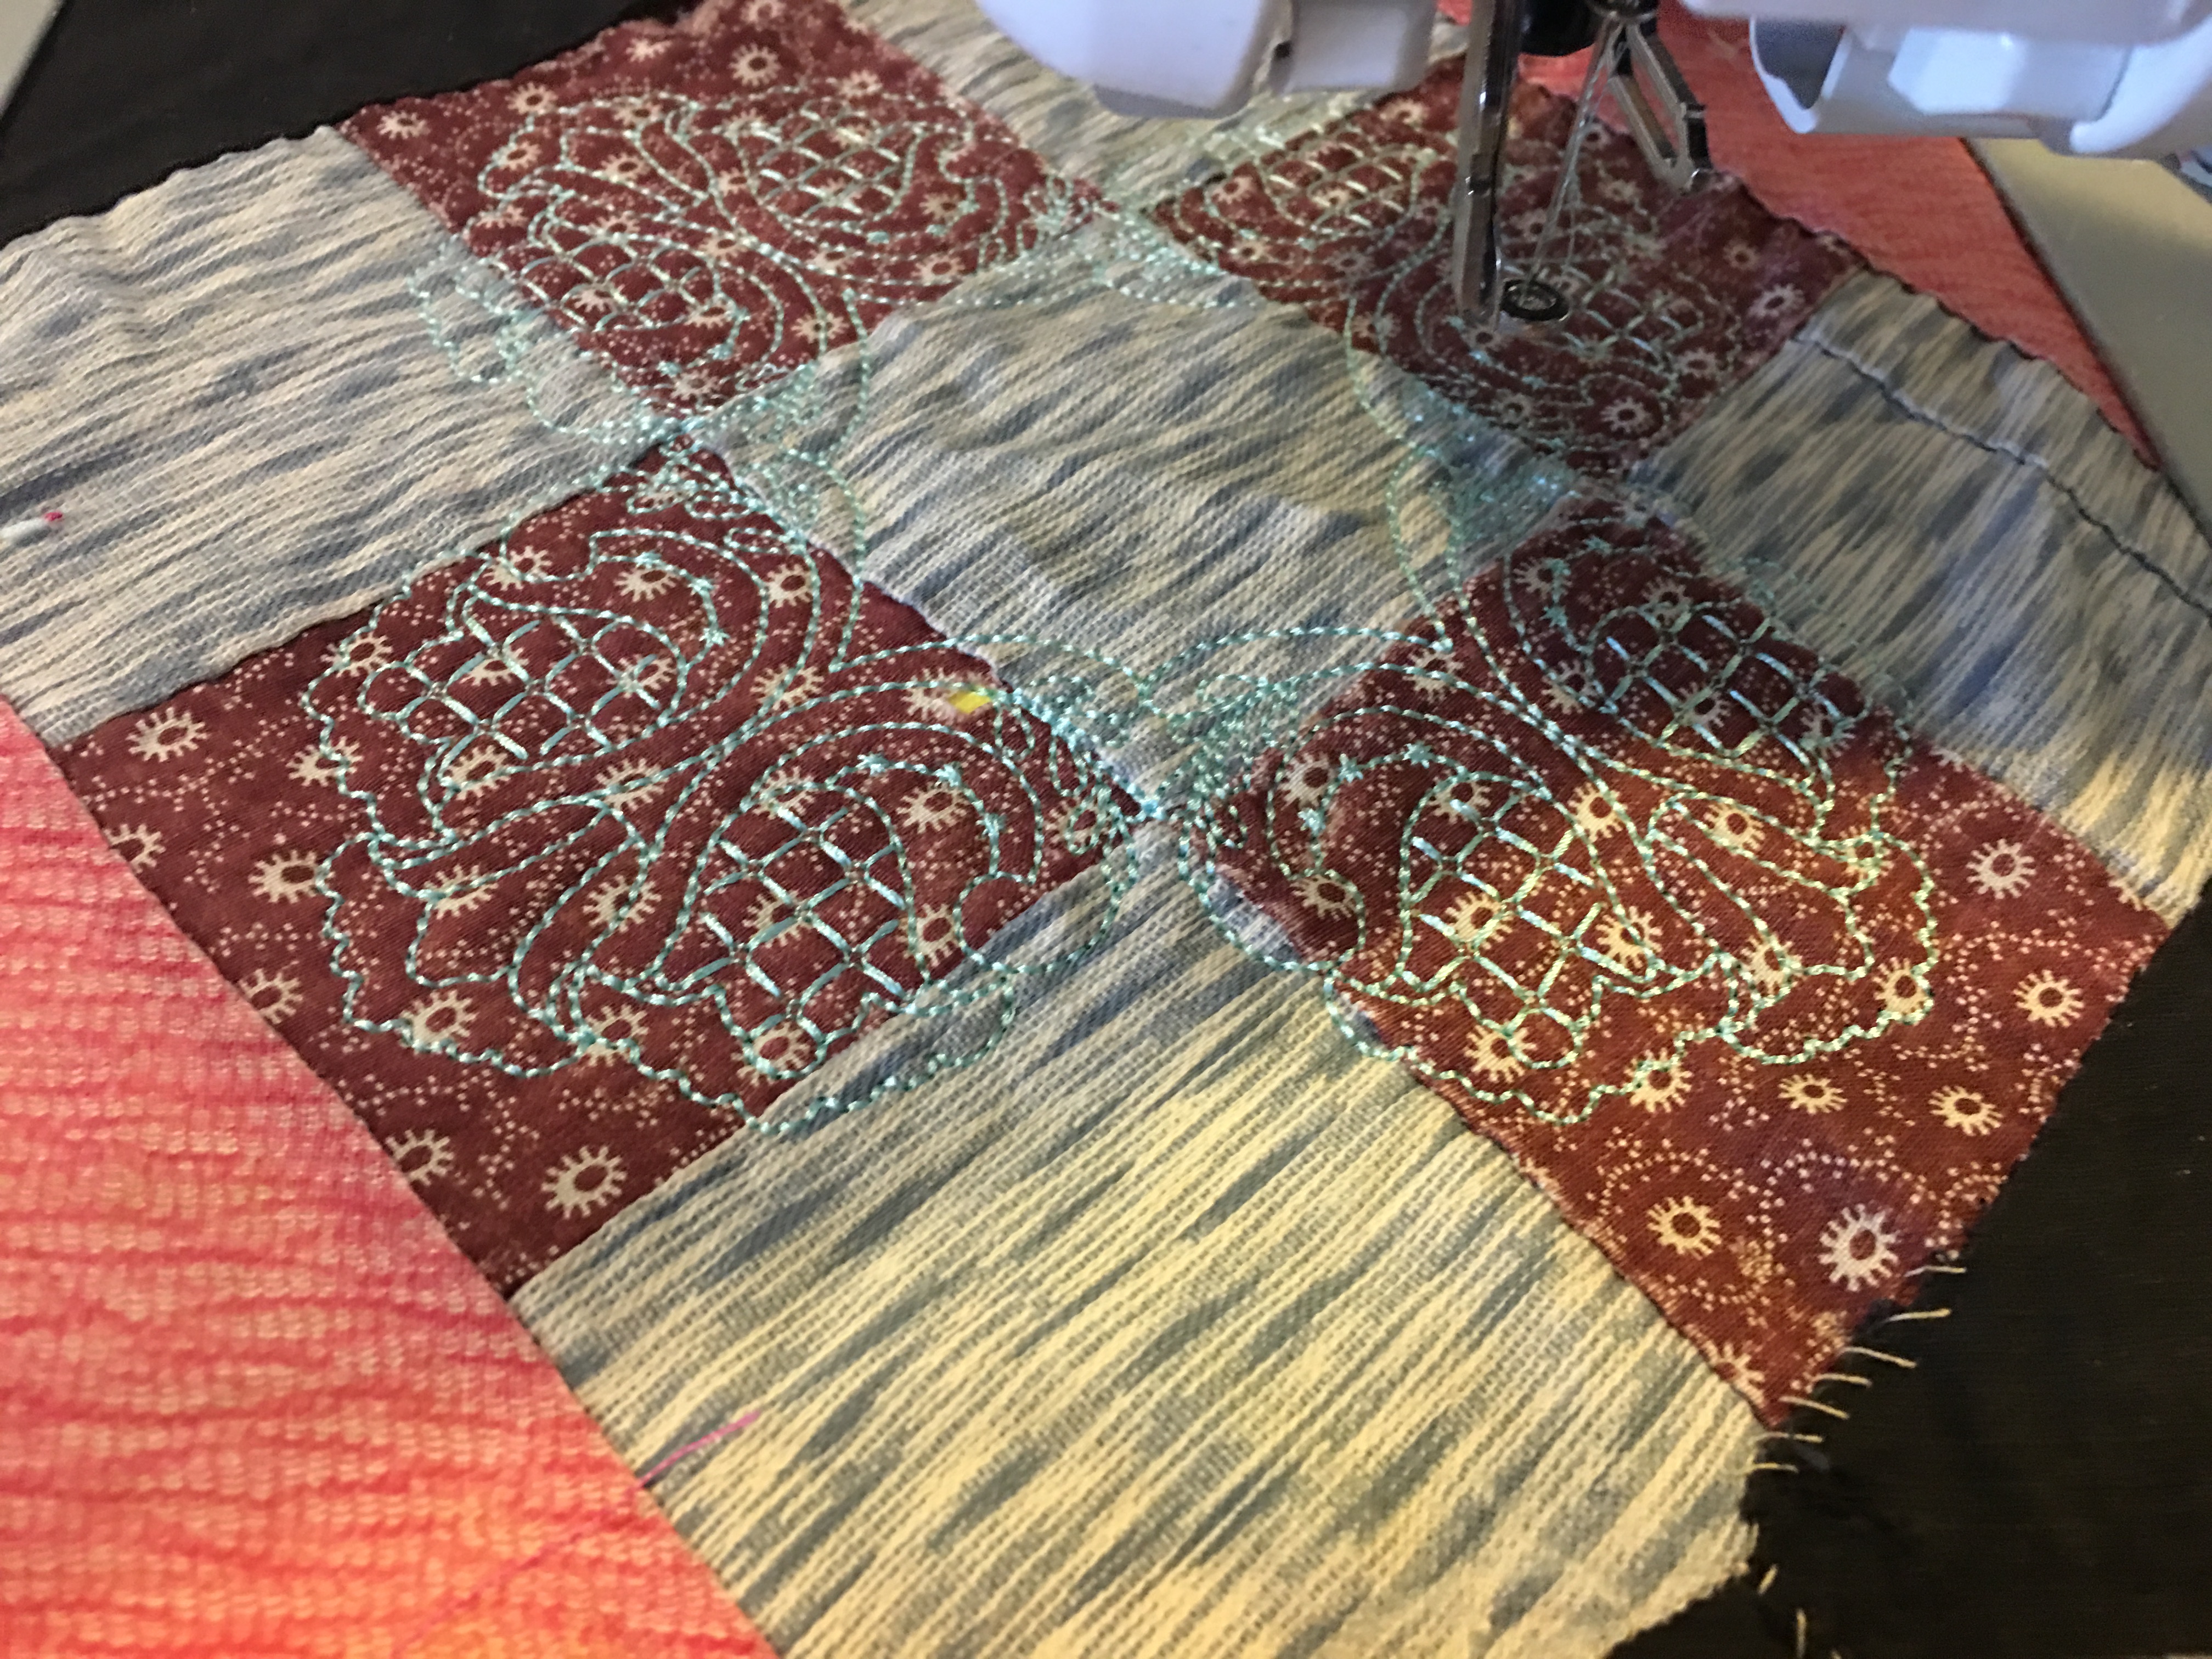
To quilt, due to the lack of basting I started in the middle of one edge and quilted one square at a time going out from the center on the first row. As I finished a row I would do the next row directly beside the row so that the fabric was kept smooth with the minimum of basting. I used my large embroidery machine (a PRS 100 from Brother) and a stencil pattern. Luckily I have a magnetic frame for my embroidery machine which allows for no stretching of the fabric while it’s in the frame. With a vintage quilt like this I don’t think I’d want to put it in a frame that would stretch it.
For a vintage quilt that has sentimental value I probably would have hand quilted it. The brittle nature of the fabric also played into the choice also though! I haven’t decided what to do with this top, but I’m thinking to donate it to an organization that will auction it as a fundraiser. It really needs to just be used as a decoration.
Washing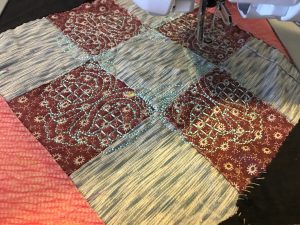
Future washing of a quilt like this (or any quilt), is usually best with a mild soap by hand. I’ve always heard horse soap is the mildest. I usually just use a mild hand wash soap, but for a quilt that means a lot to me – it takes a lot for me to work up to washing it. This one really needs to be hand washed and laid out on a bed to dry.
I’ve also repaired clothes, but I have to admit they are a little easier to fix when compared to a quilt top. The toughest part though is staying vintage.